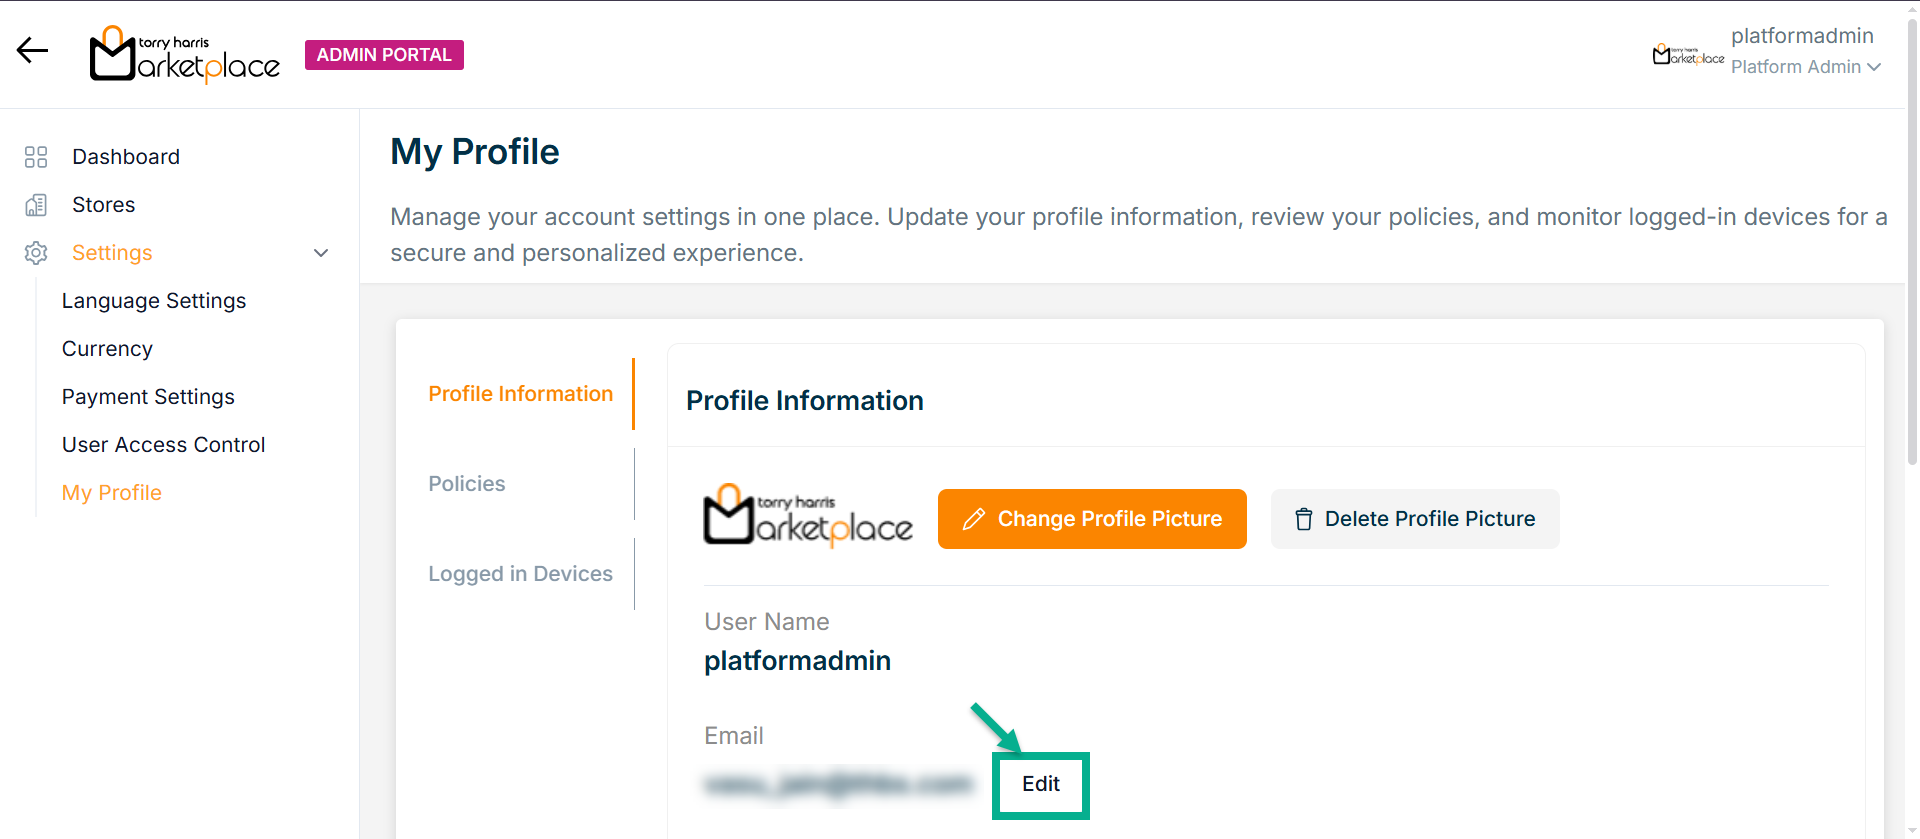
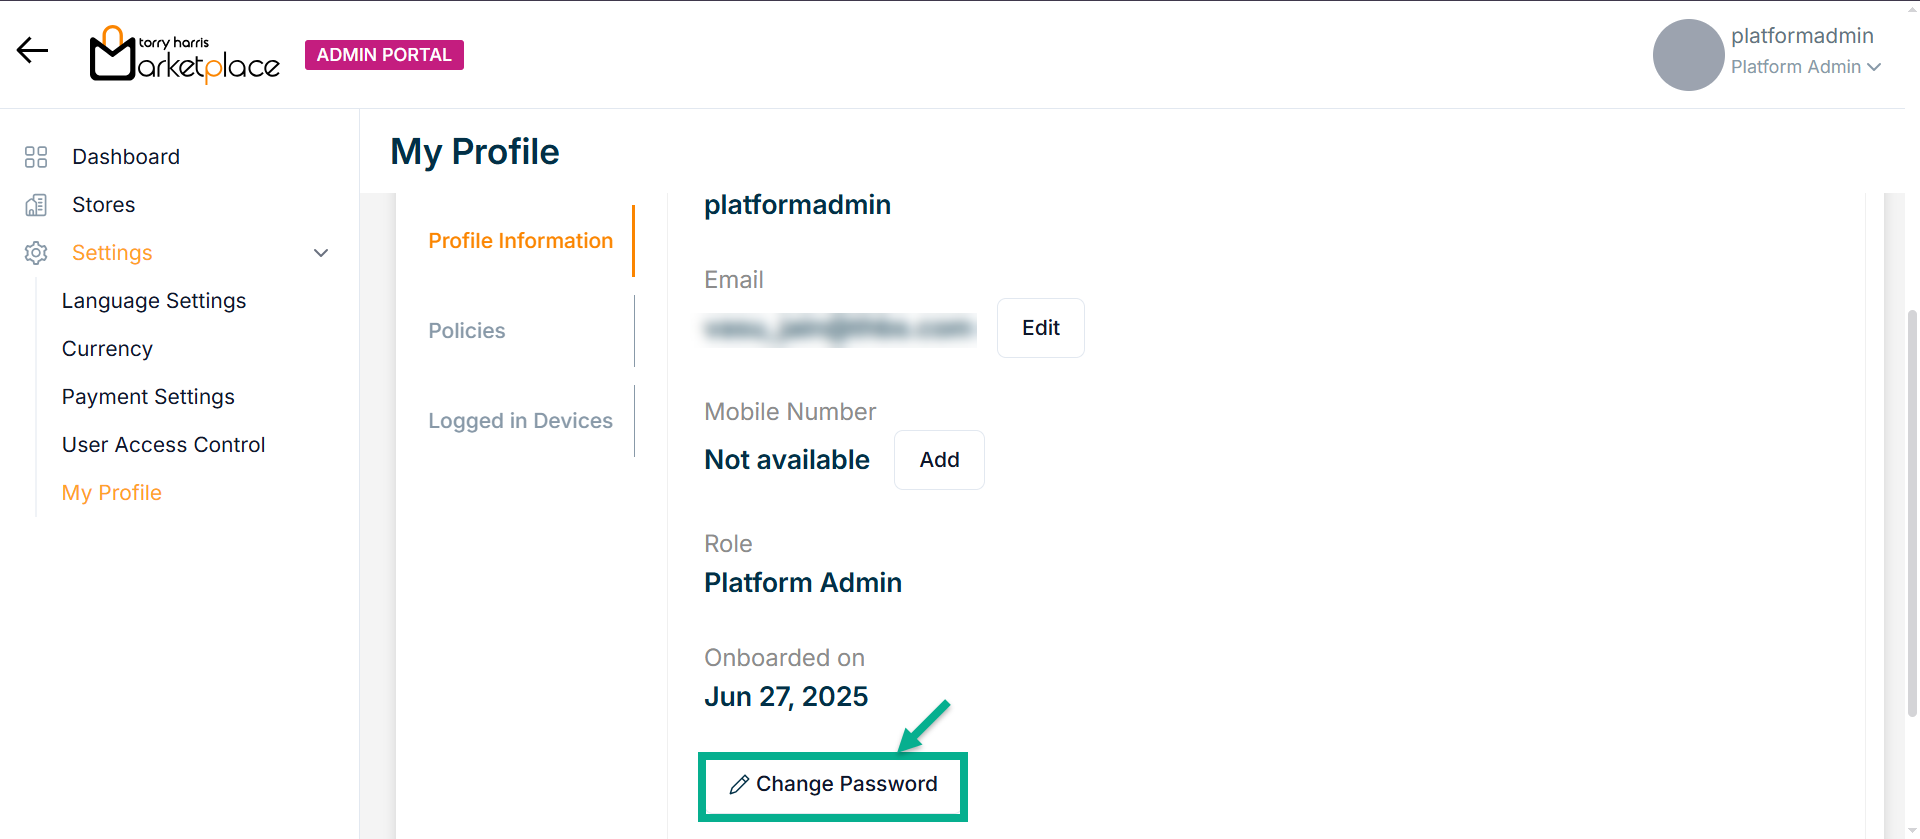
My Profile
This displays a brief description of the user, including First Name, Last Name, Email ID and User Onboarded date.
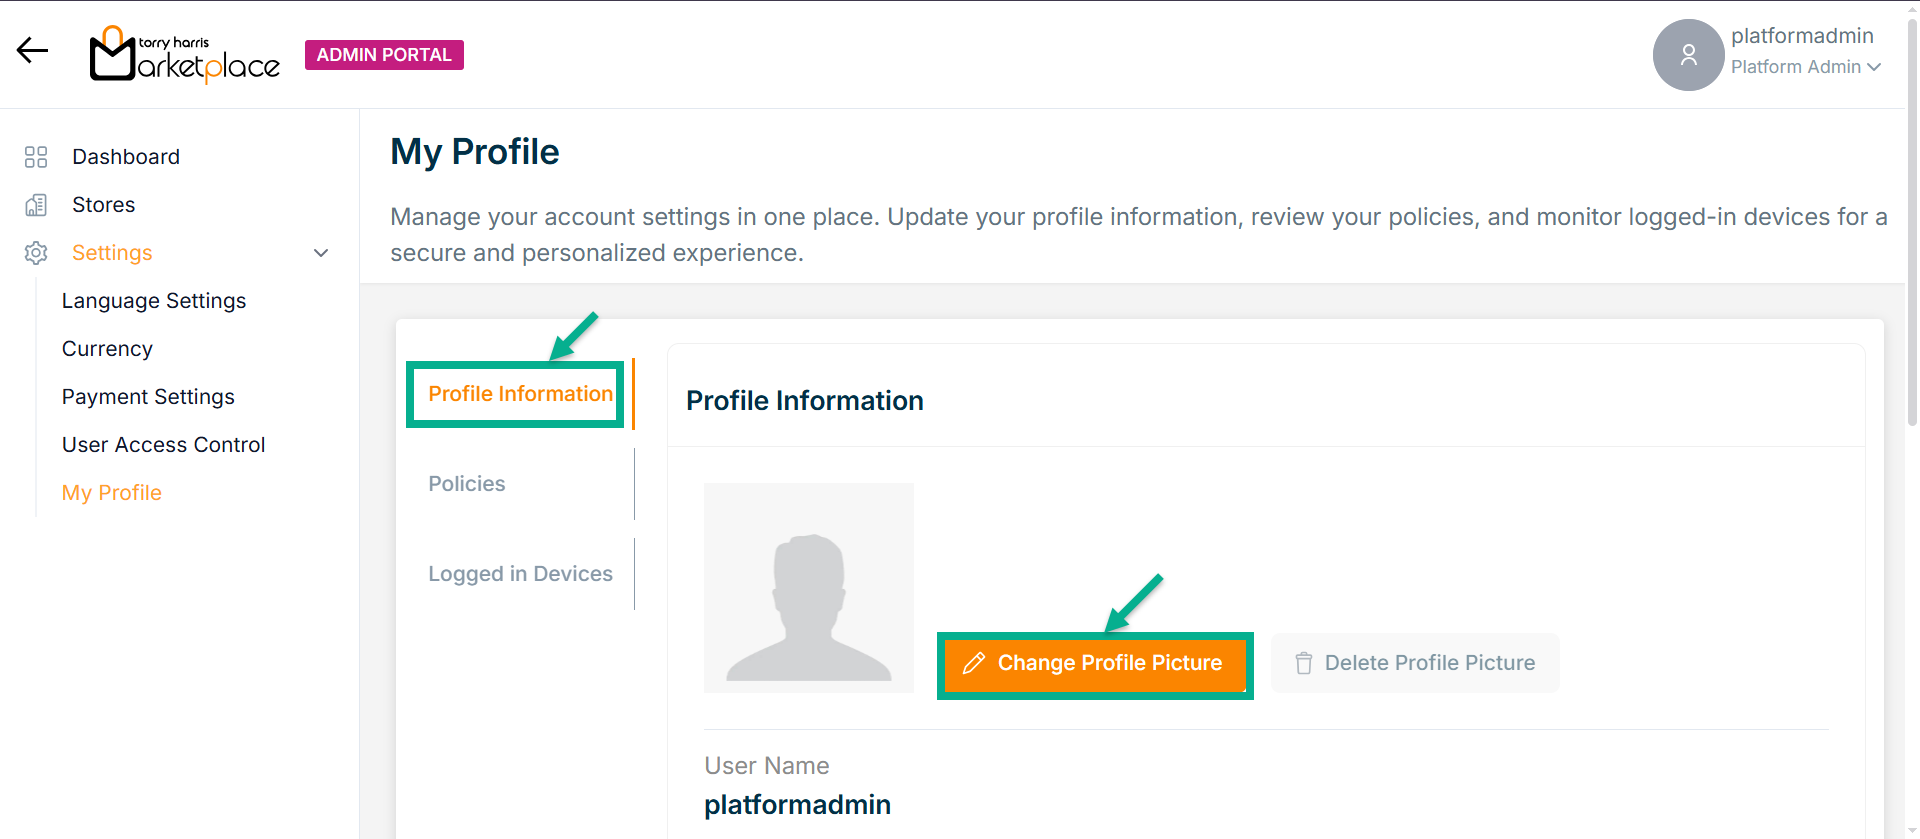
Adding Profile Picture
- Click on Change Profile Picture.
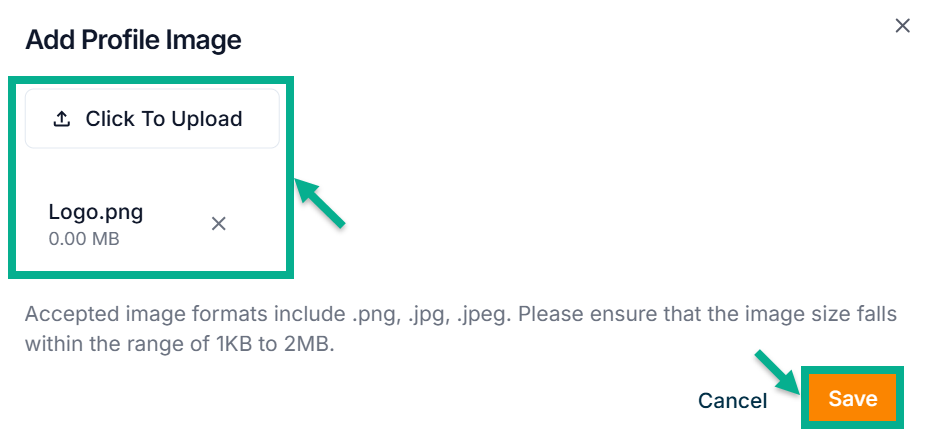
The Add Profile Image dialogue box appears as shown below.
-
Click on Click to Upload.
-
Upload the profile picture from the local machine.
-
Click Save.
On saving, the confirmation message appears as shown below.

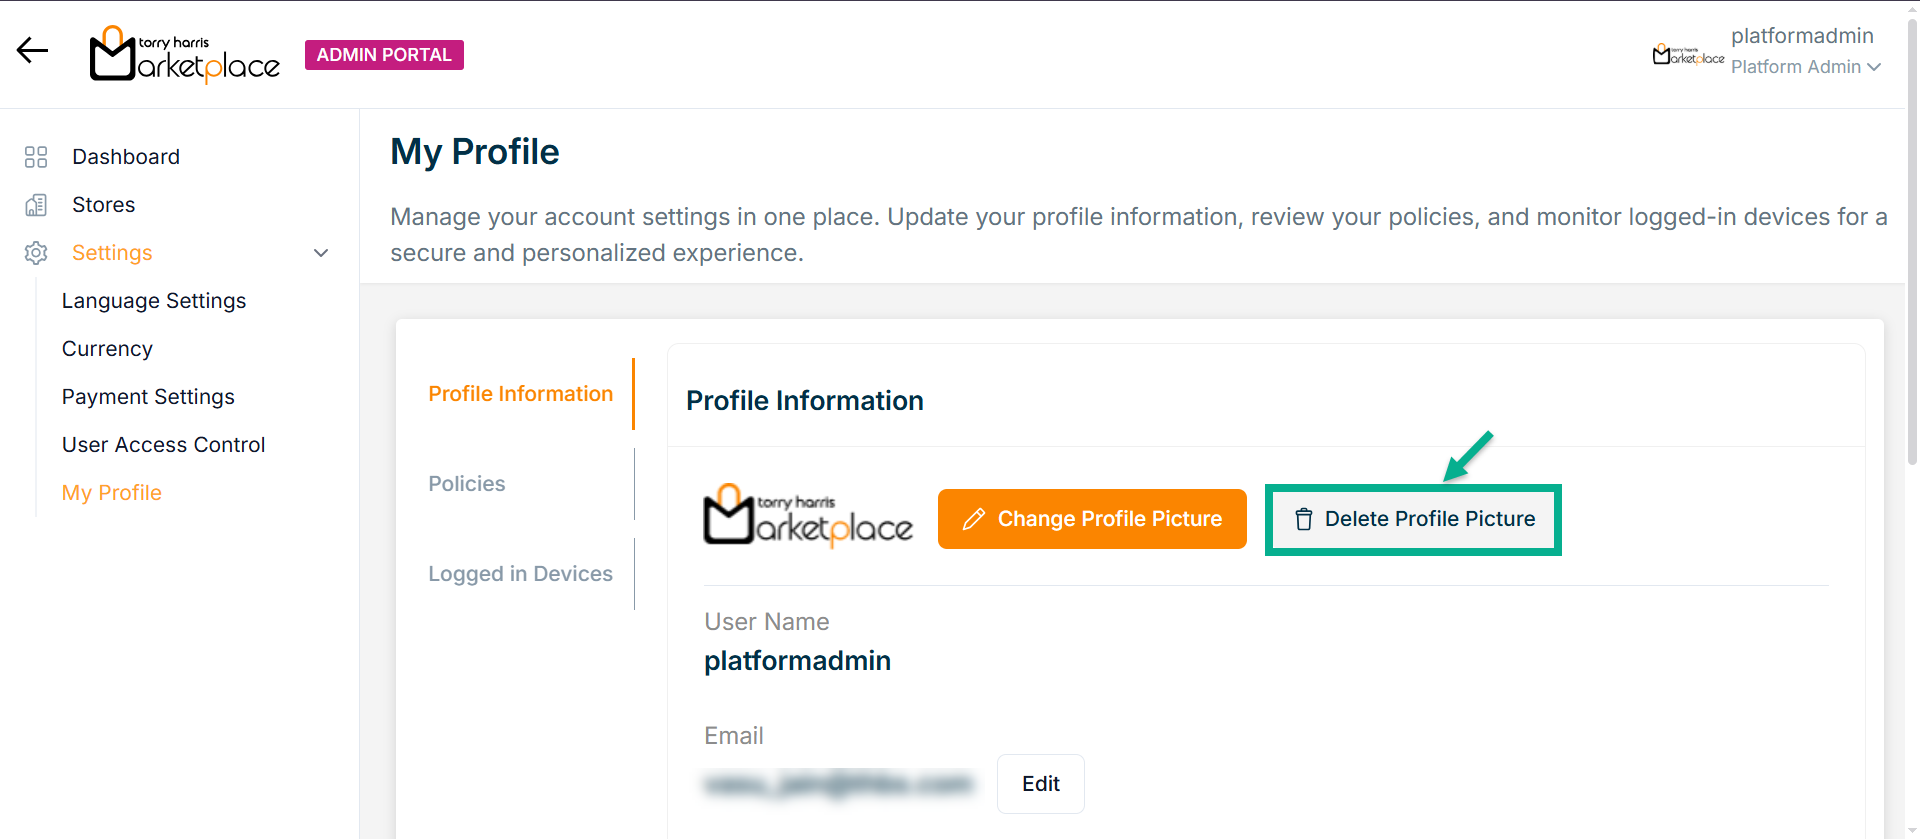
Deleting Profile Picture
- Click on Delete Profile Picture.
The Delete Profile Picture dialogue box appears as shown below.
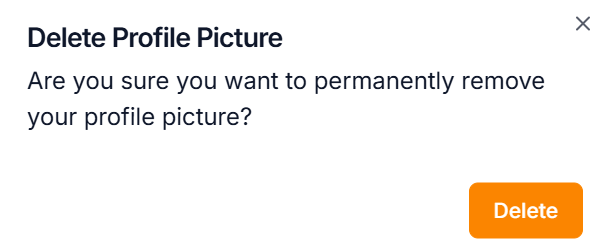
- Click Delete.

Updating Email Id
- Click Edit.
The Update Email Id dialogue box appears as shown below.

- Click Get OTP.
An OTP will be sent to the registered email address.
After clicking Get OTP, a 30-second timer will start.
Once the timer completes, the Resend OTP button will appear, allowing the user to request the OTP again.
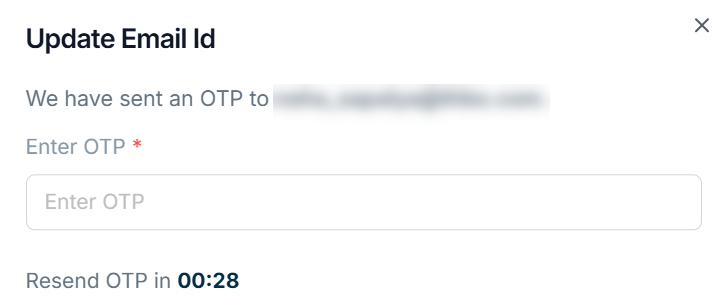
- Enter OTP.
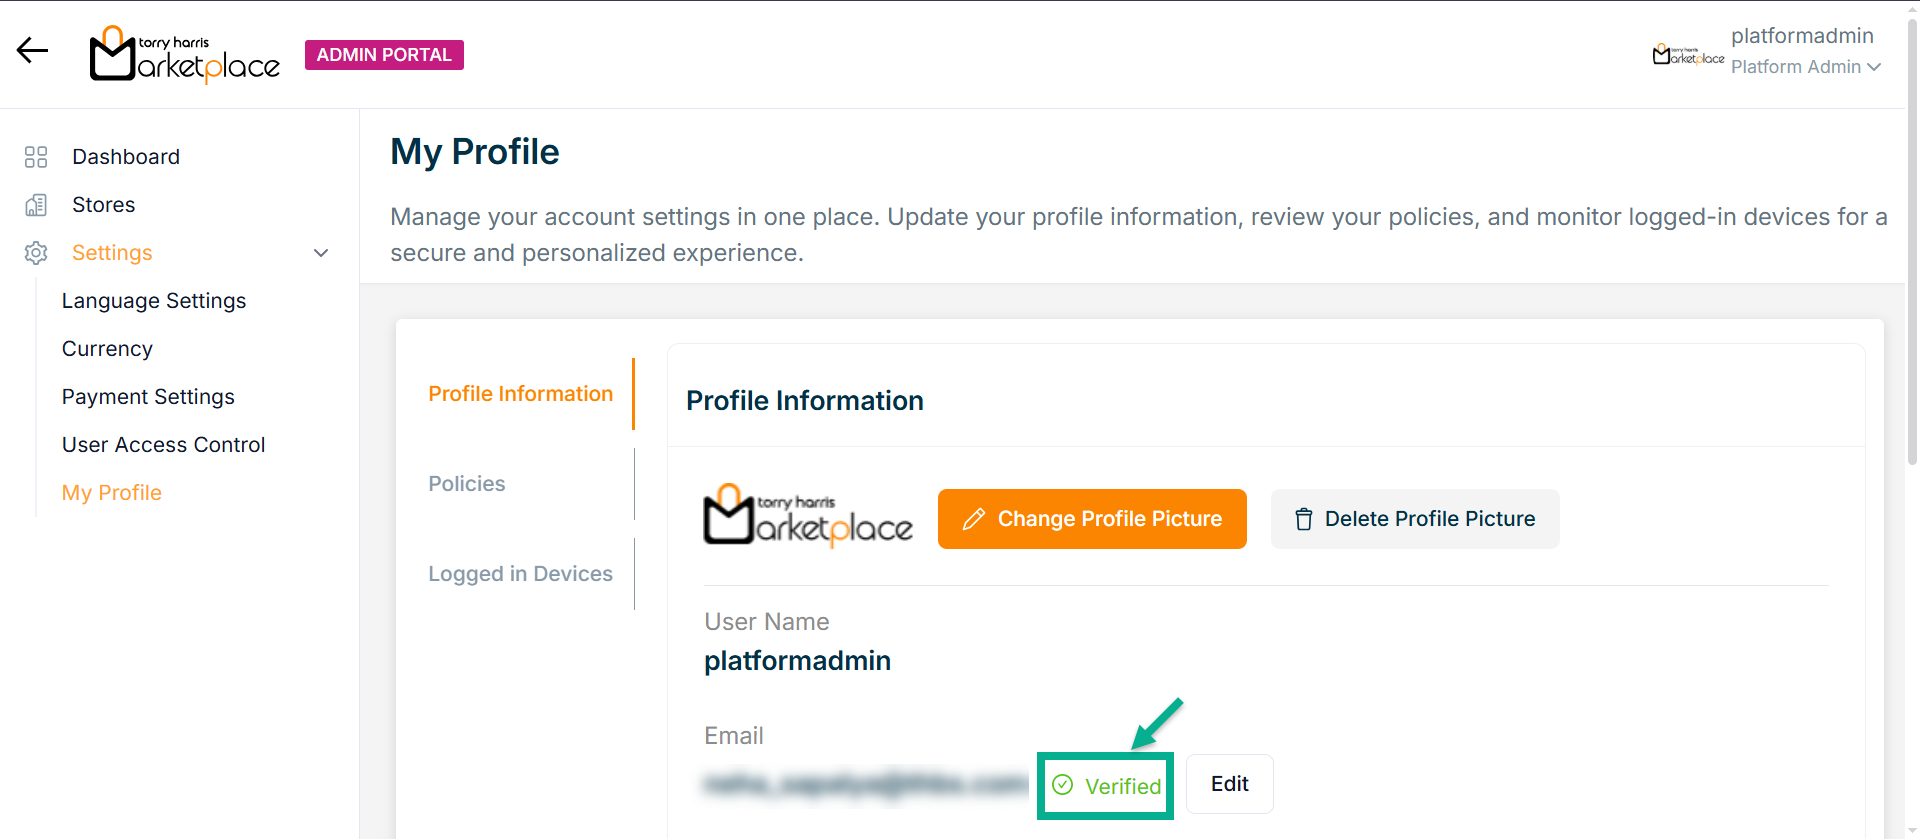
The updated email address is displayed along with the label 'Verified', as shown below.
Adding Mobile Number
- Click Edit.
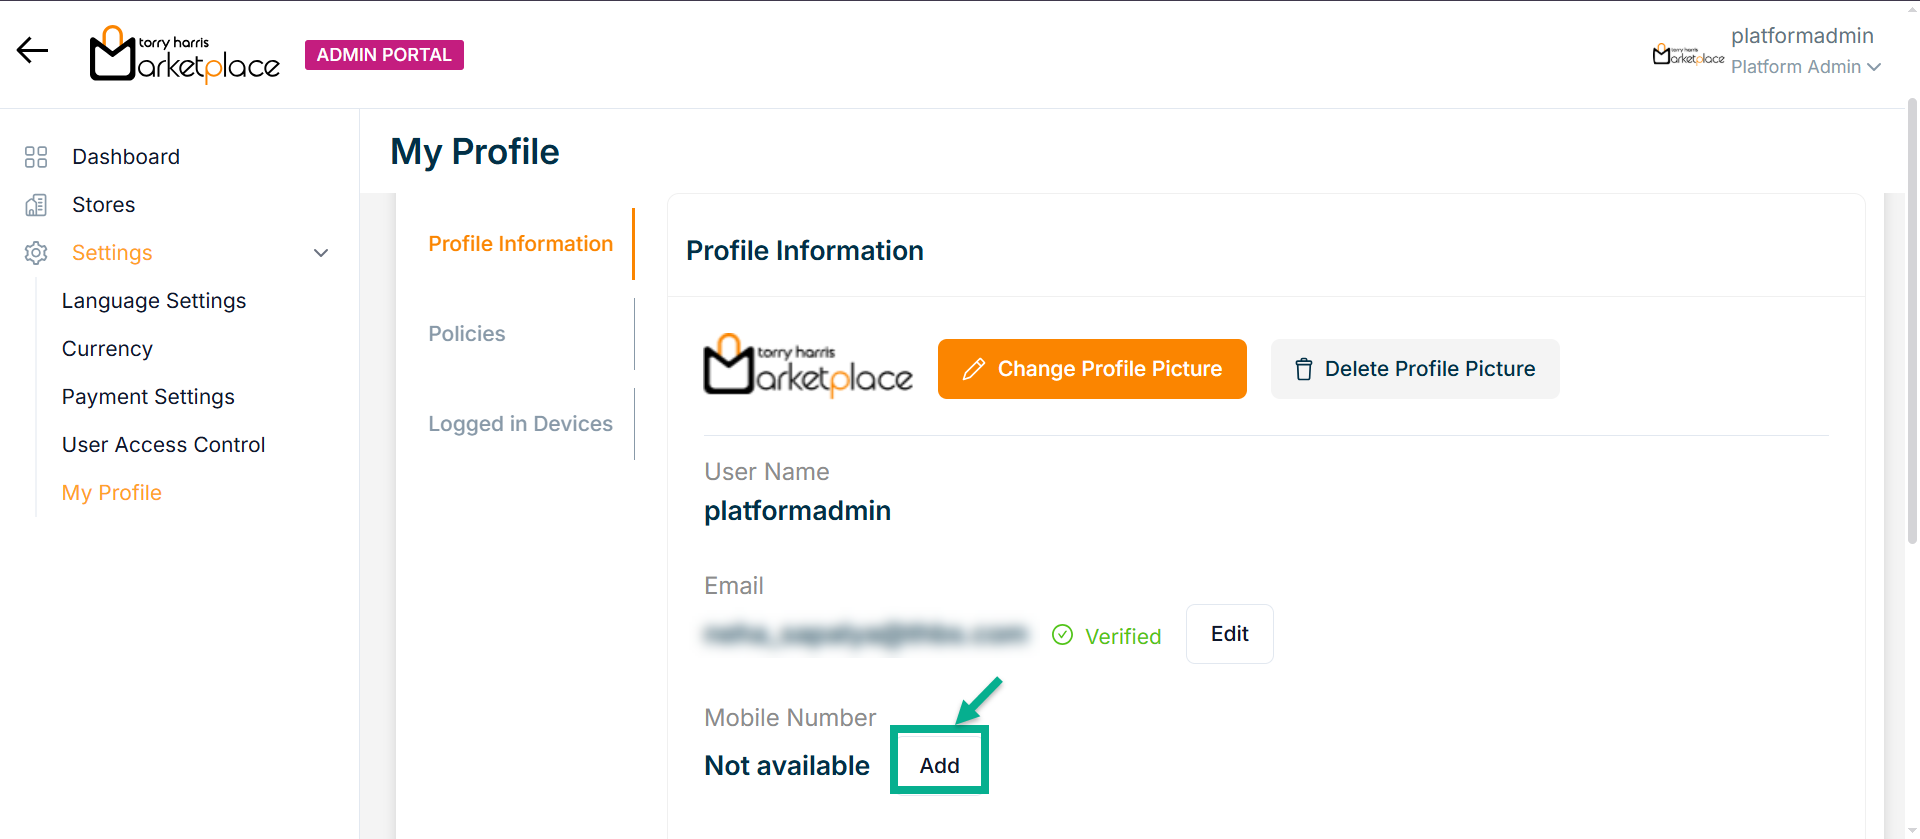
The Add Mobile Number dialogue box appears as shown below.
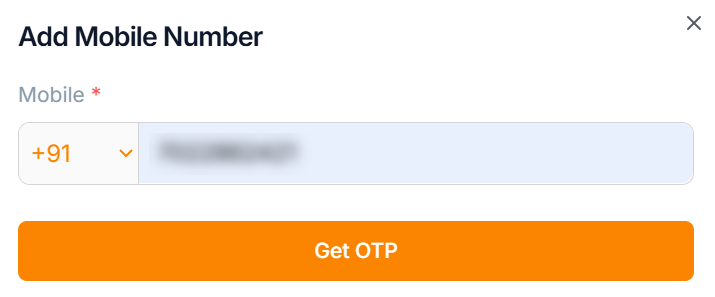
- Click Get OTP.
An OTP will be sent to the registered mobile number.
After clicking Get OTP, a 30-second timer will start.
Once the timer completes, the Resend OTP button will appear, allowing the user to request the OTP again.
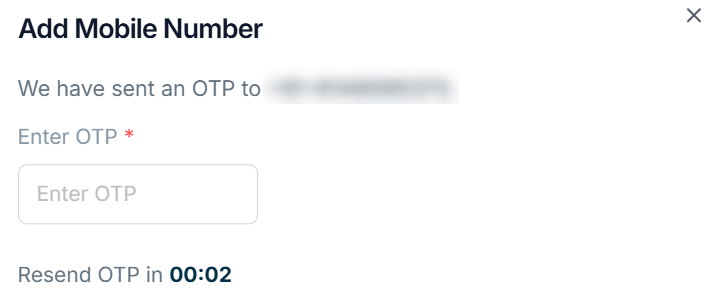
- Enter OTP.
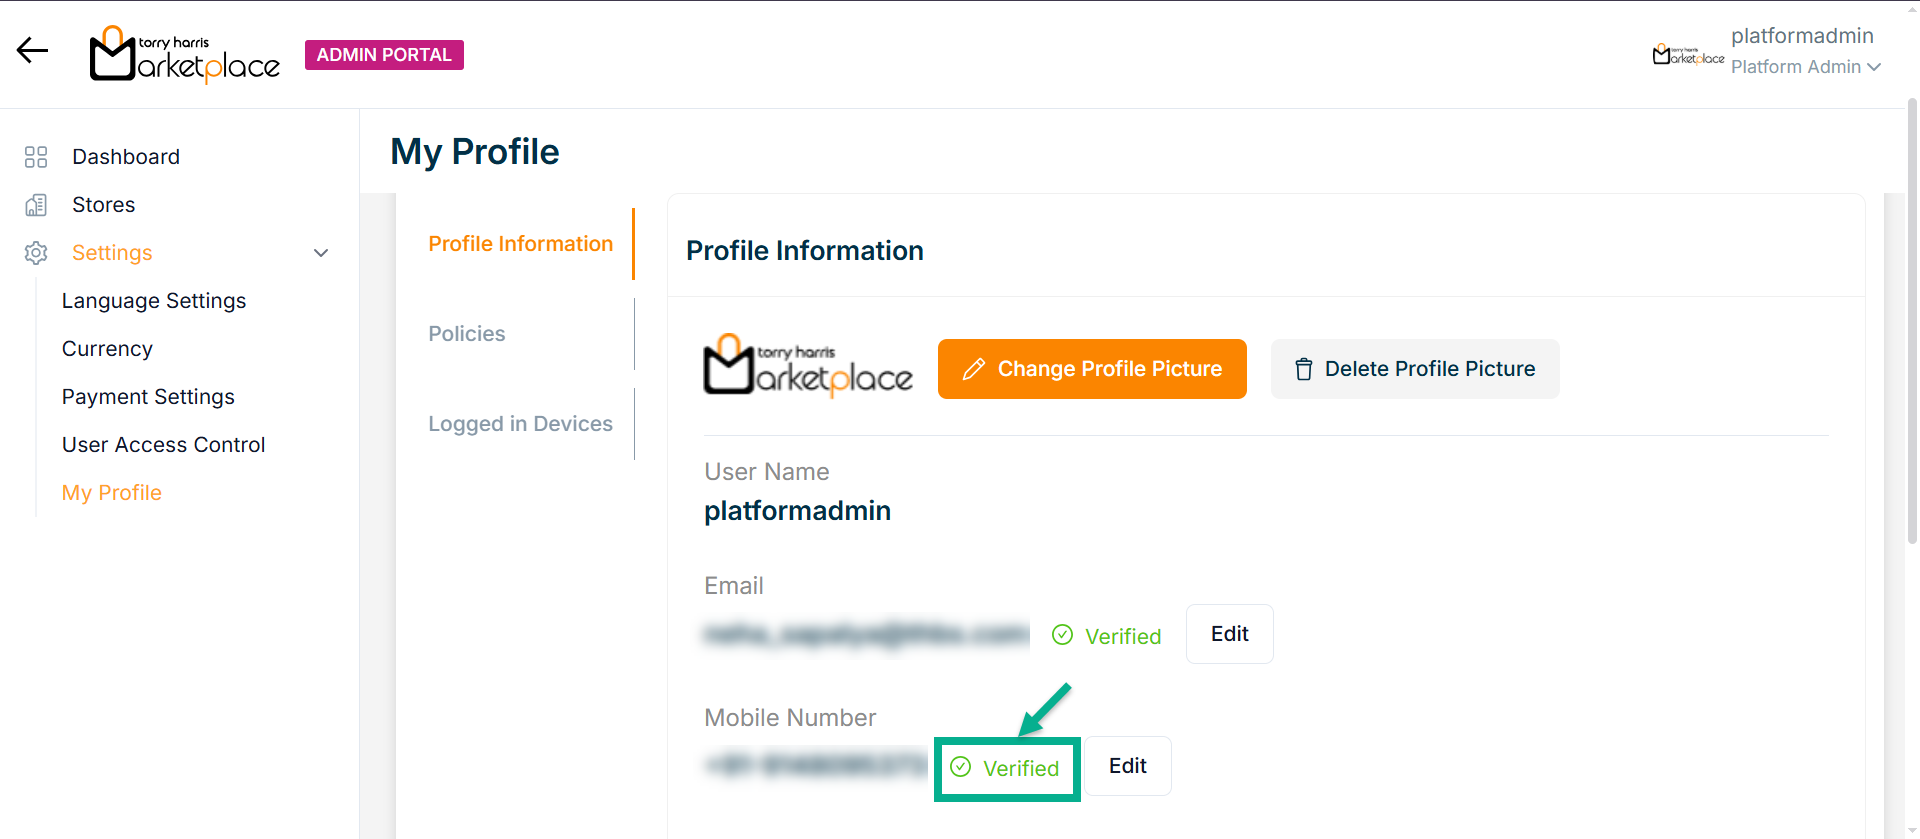
The updated email address is displayed along with the label 'Verified', as shown below.
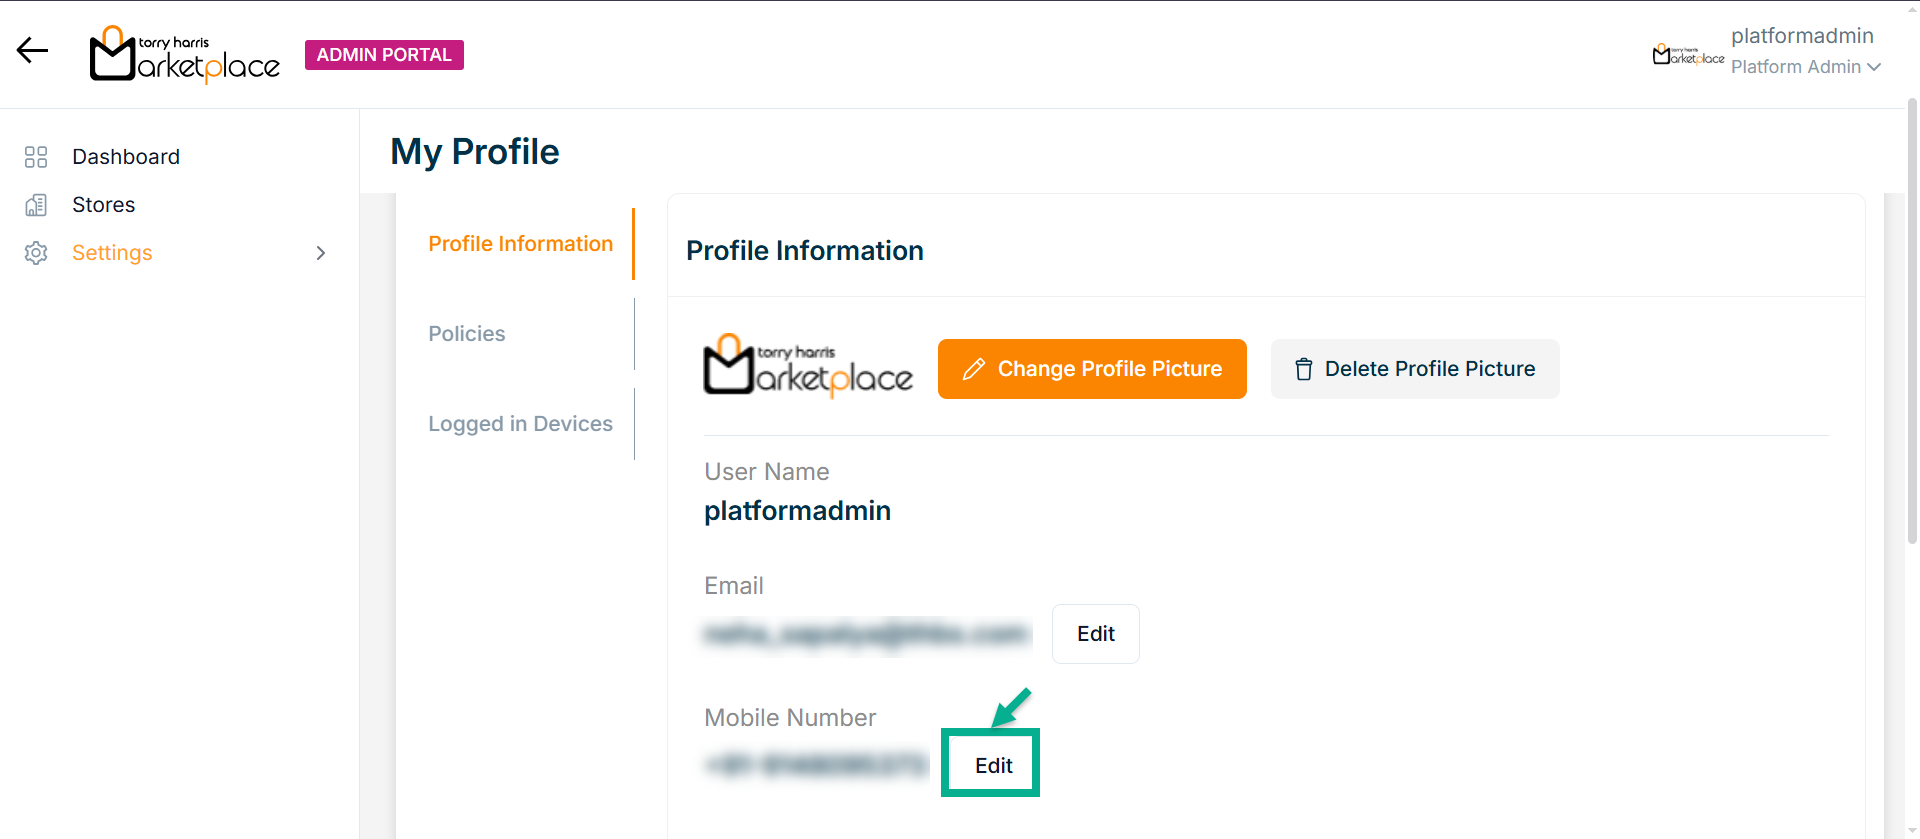
Updating Mobile Number
- Click Edit.
The Update Mobile Number dialogue box appears as shown below.
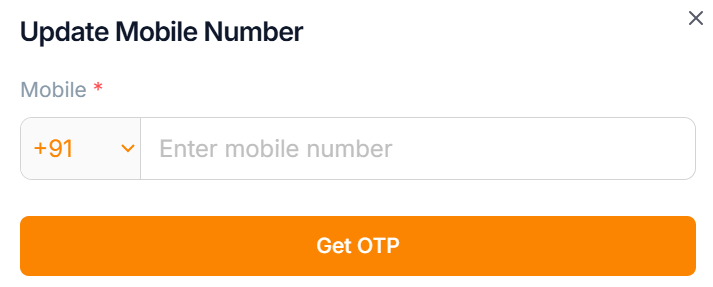
- Click Get OTP.
An OTP will be sent to the registered mobile number.
After clicking Get OTP, a 30-second timer will start.
Once the timer completes, the Resend OTP button will appear, allowing the user to request the OTP again.

- Enter OTP.
The updated email address is displayed along with the label 'Verified', as shown below.
Changing Password
- Click the Change Password button to change the password.
The Change Password dialogue box appears as shown below.
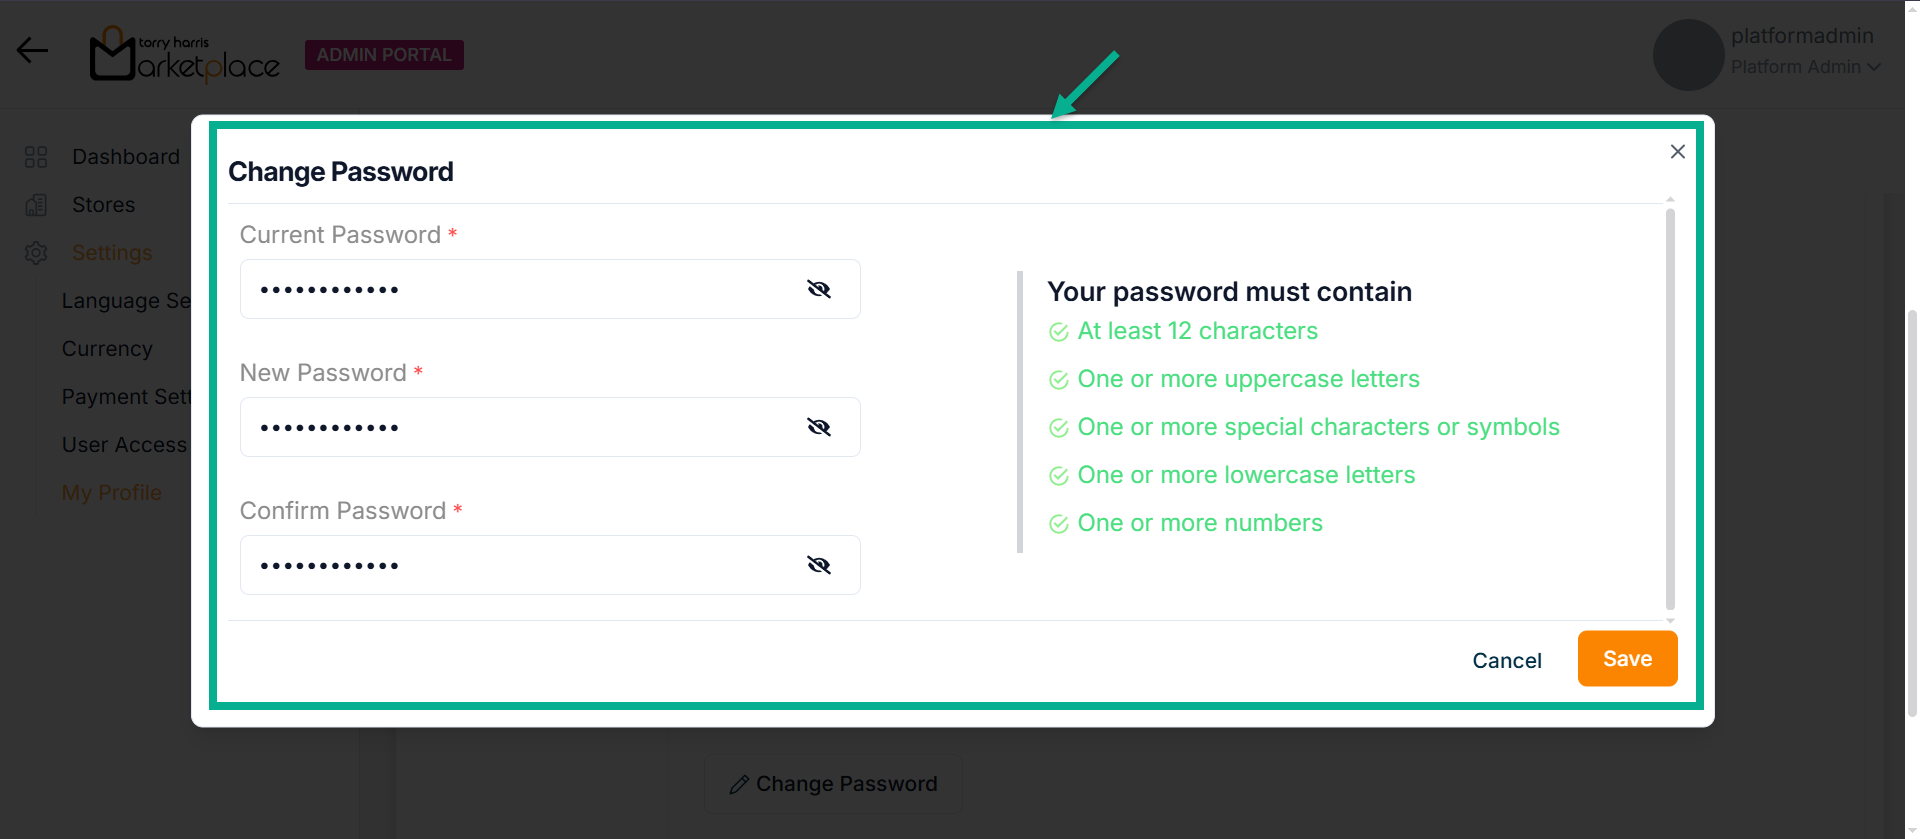
- Enter the Current Password, New Password, and Confirm Password.
The new password should not be equivalent to the previous three passwords.
Password must contain minimum of 12 characters and include at least one uppercase letter, one lowercase letter, one number, and one special character.
- Click Save.
On changing, the confirmation message appears as shown below.
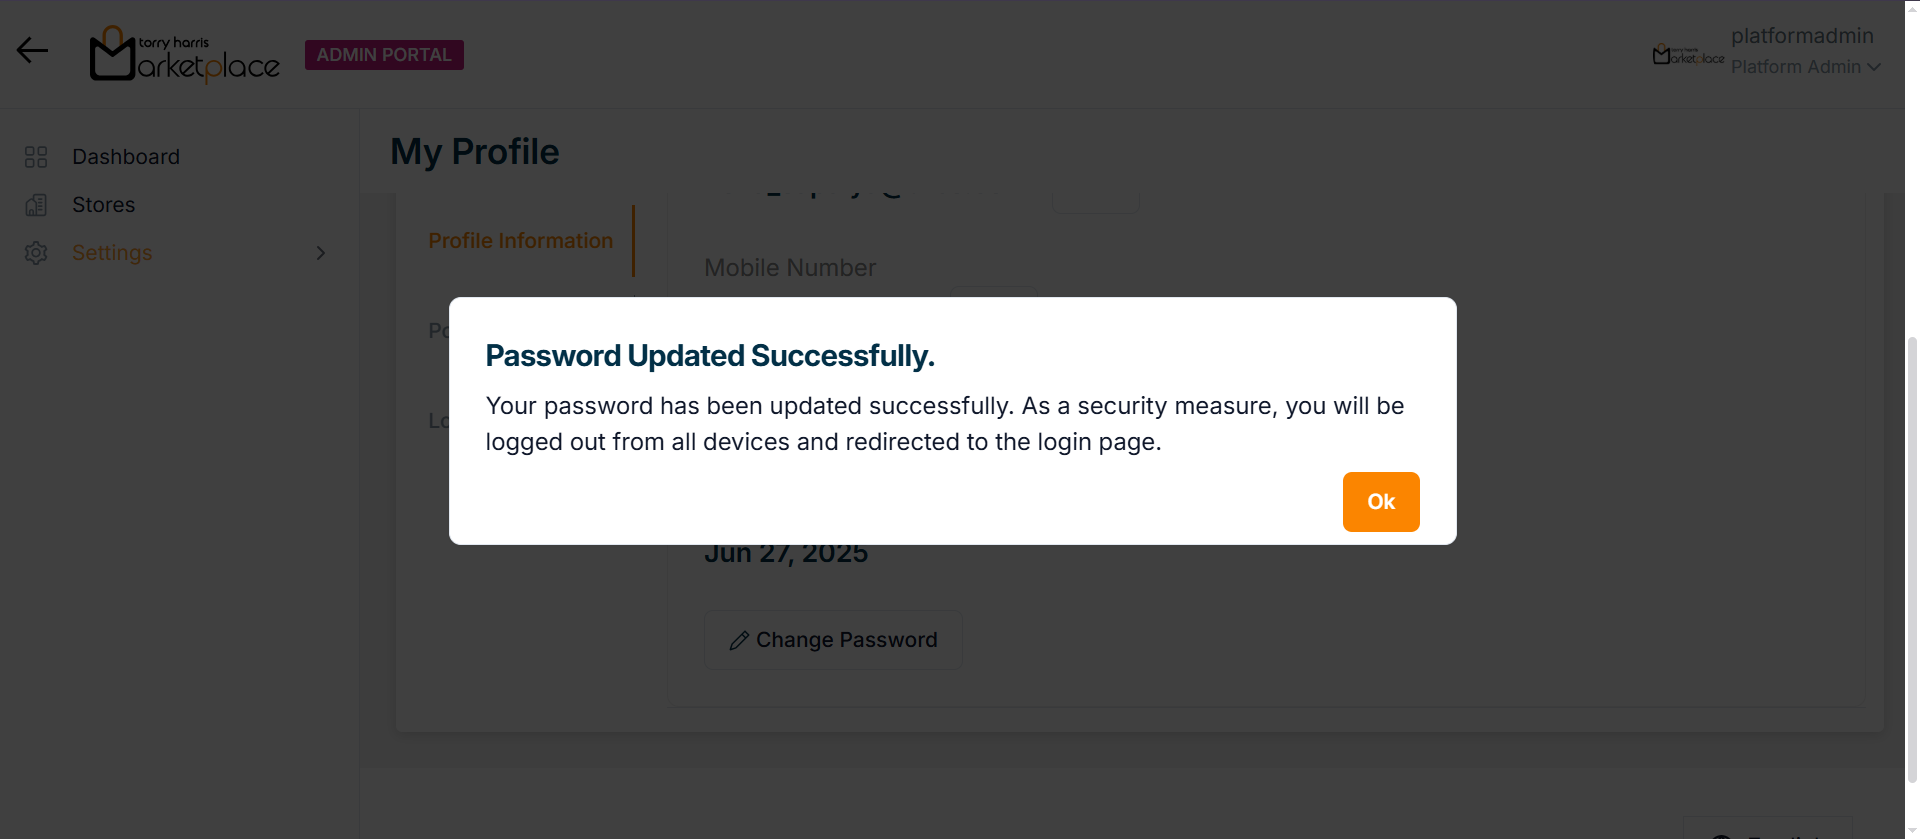
- Click Ok.
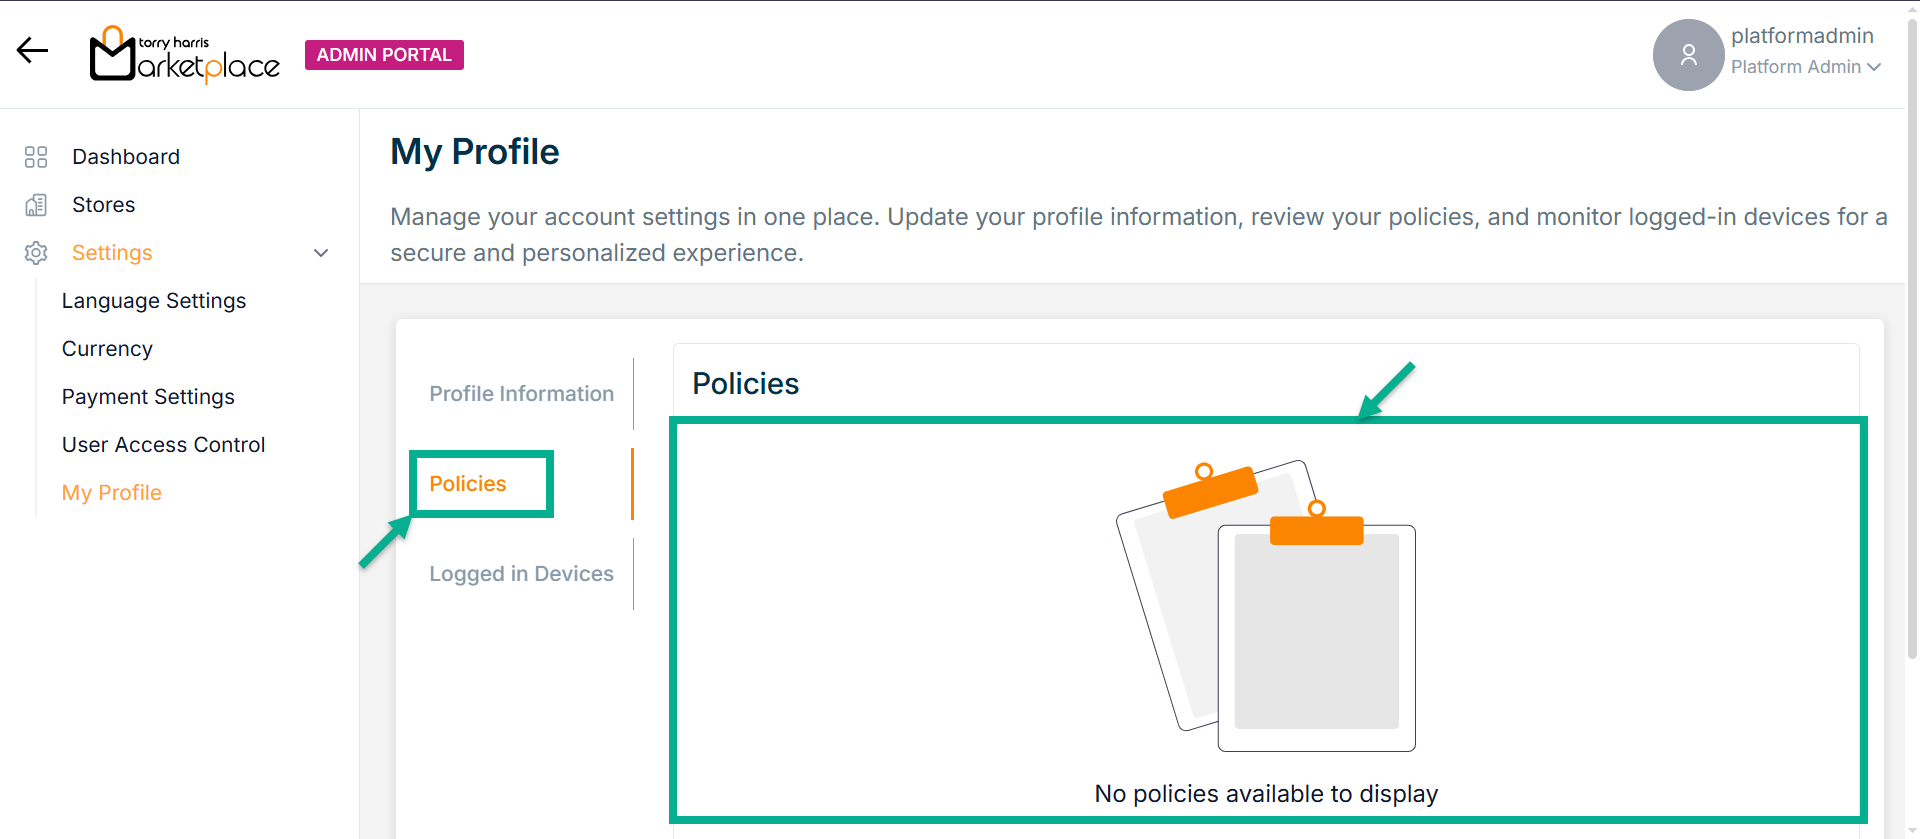
Viewing Policies
Policies can only be added using the backend API. The Policies tab only displays policies created through the backend API.
- Click Policies tab.
The Policies screen appears as shown below.
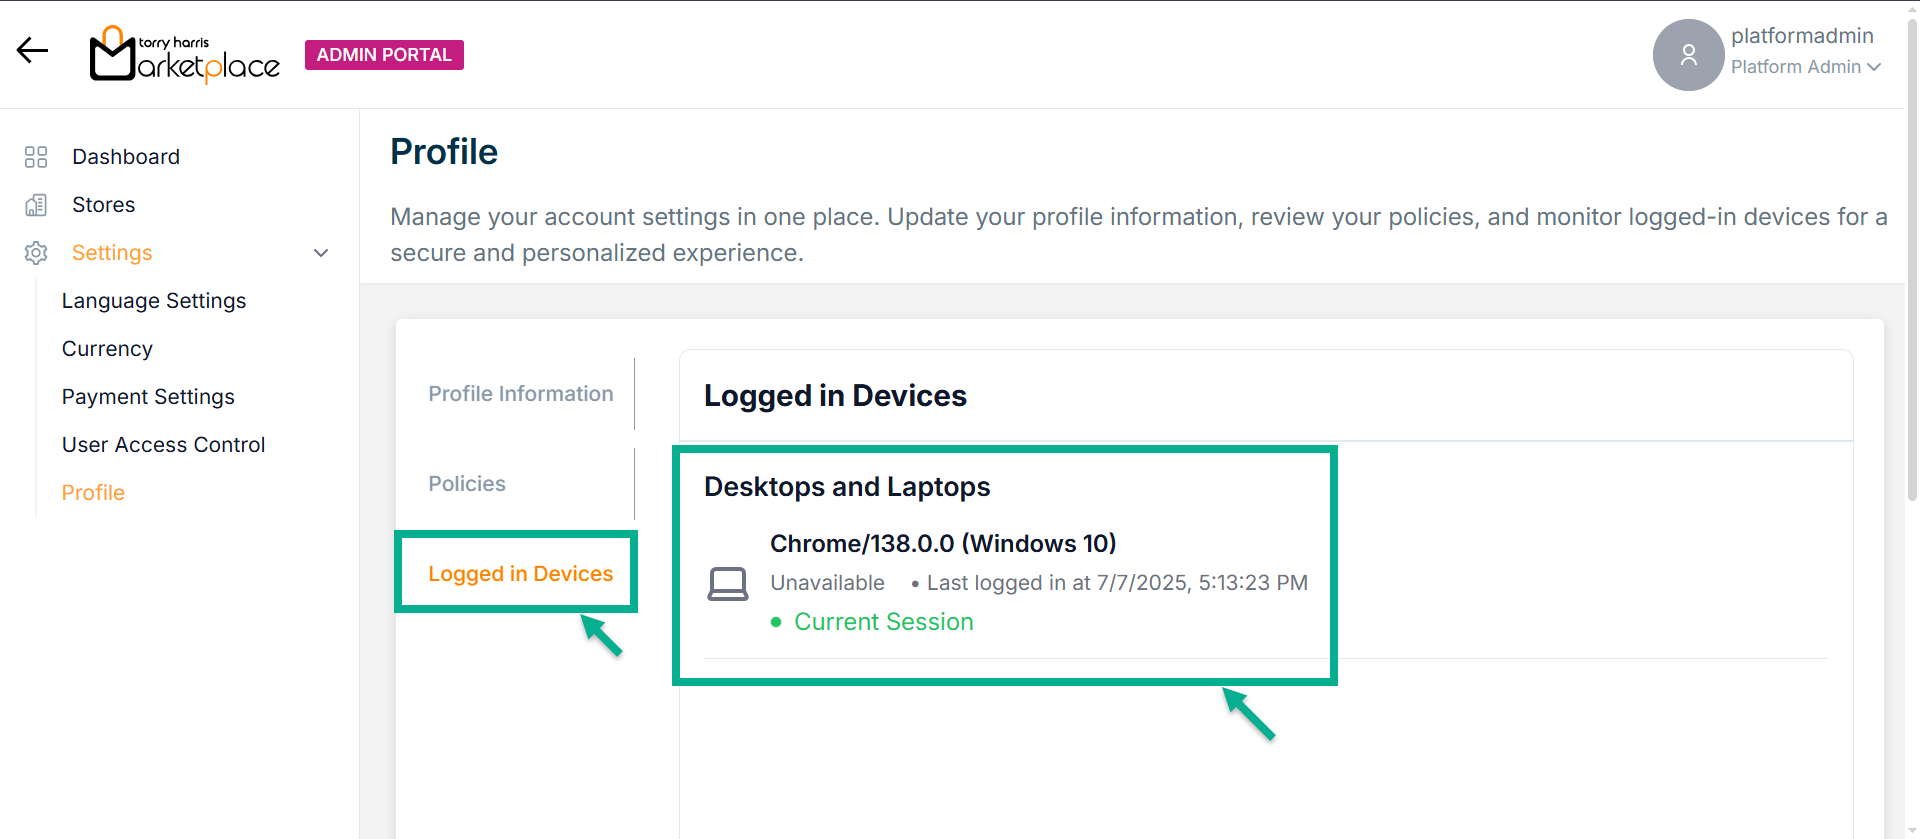
Viewing Logged in Devices
Users can monitor all active sessions linked to their account from the Logged in Devices section.
If IP Stack is enabled, the session's location will be shown; otherwise, it appears as Unavailable.
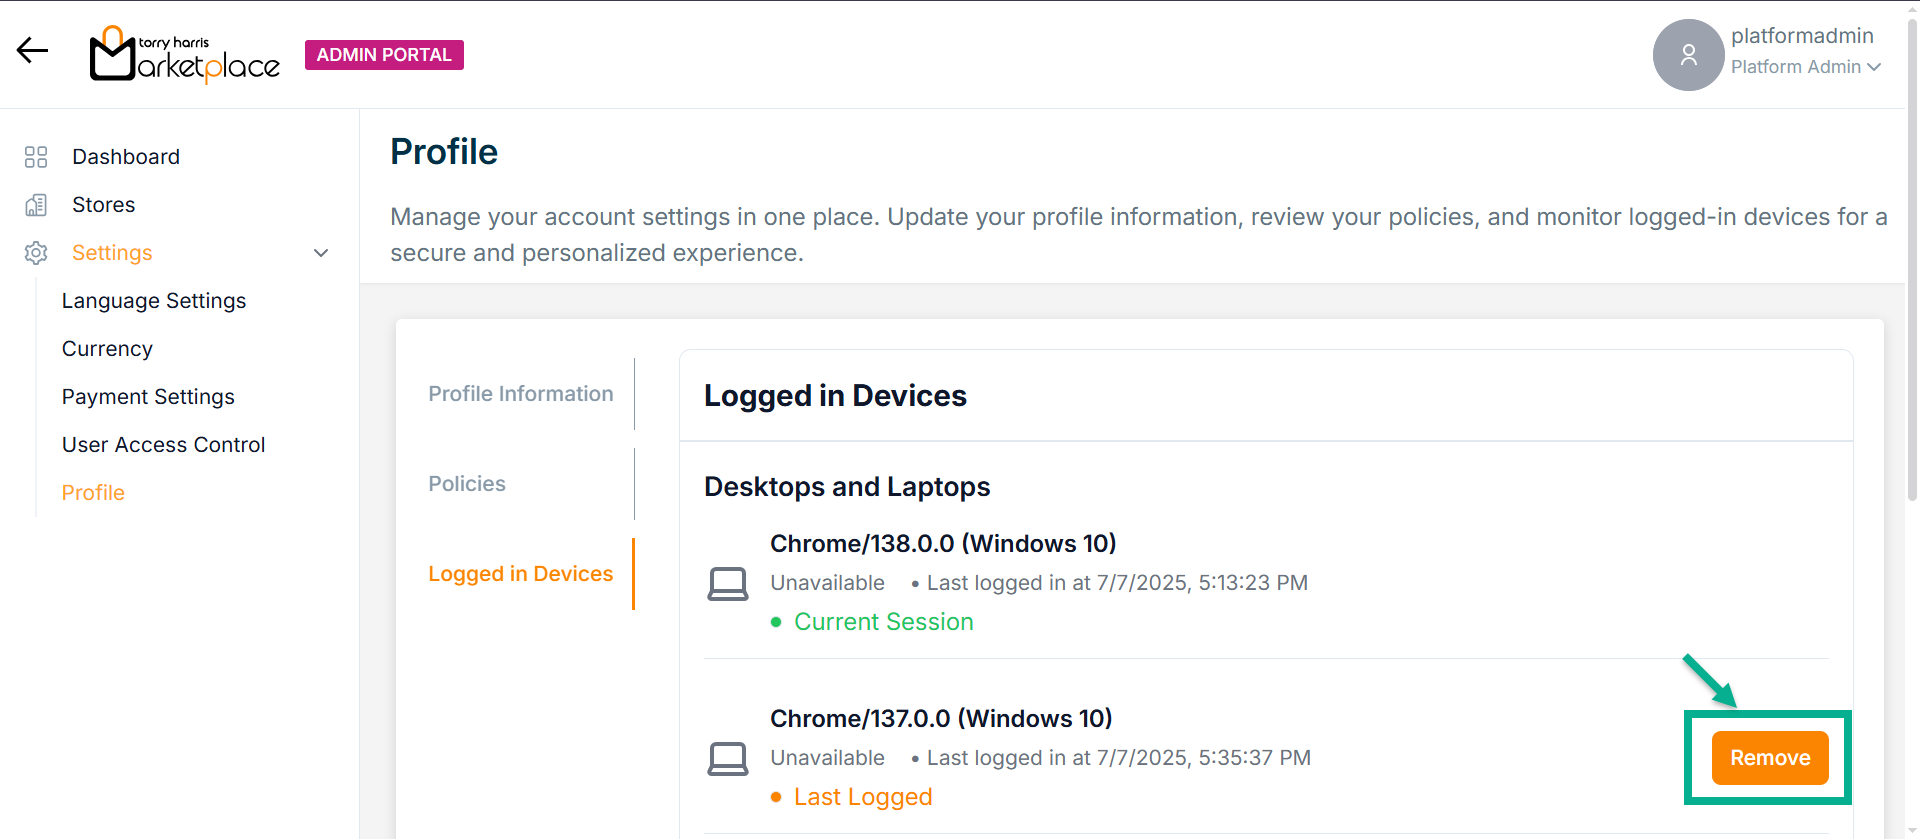
Removing Logged in Devices
They can securely remove unfamiliar sessions via email OTP, except the current one which remains protected.
- Click Remove.
The dialogue box appears as shown below
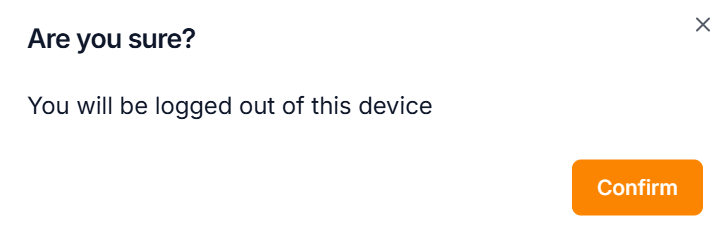
- Click Confirm.
The OTP Verification dialogue box appears as shown below
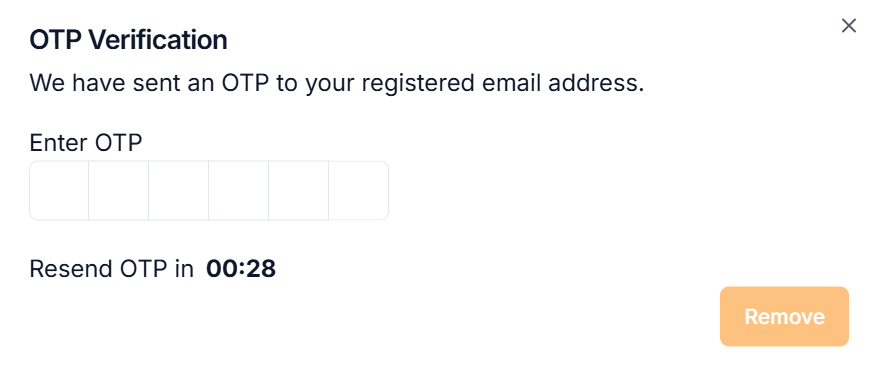
An OTP will be sent to the registered email id.
After clicking Get OTP, a 30-second timer will start.
Once the timer completes, the Resend OTP button will appear, allowing the user to request the OTP again.
-
Enter OTP.
-
Click Remove.
Upon removing, the confirmation message appears as shown below.
